Print Labels
The Print Labels menu allows you to generate labels from selected records in your workflow. This is useful for creating mailing labels, name badges, shipping labels, or any other label format. You can choose specific records to include and use a custom report template to format the output.
How to Generate a Print Labels Report
-
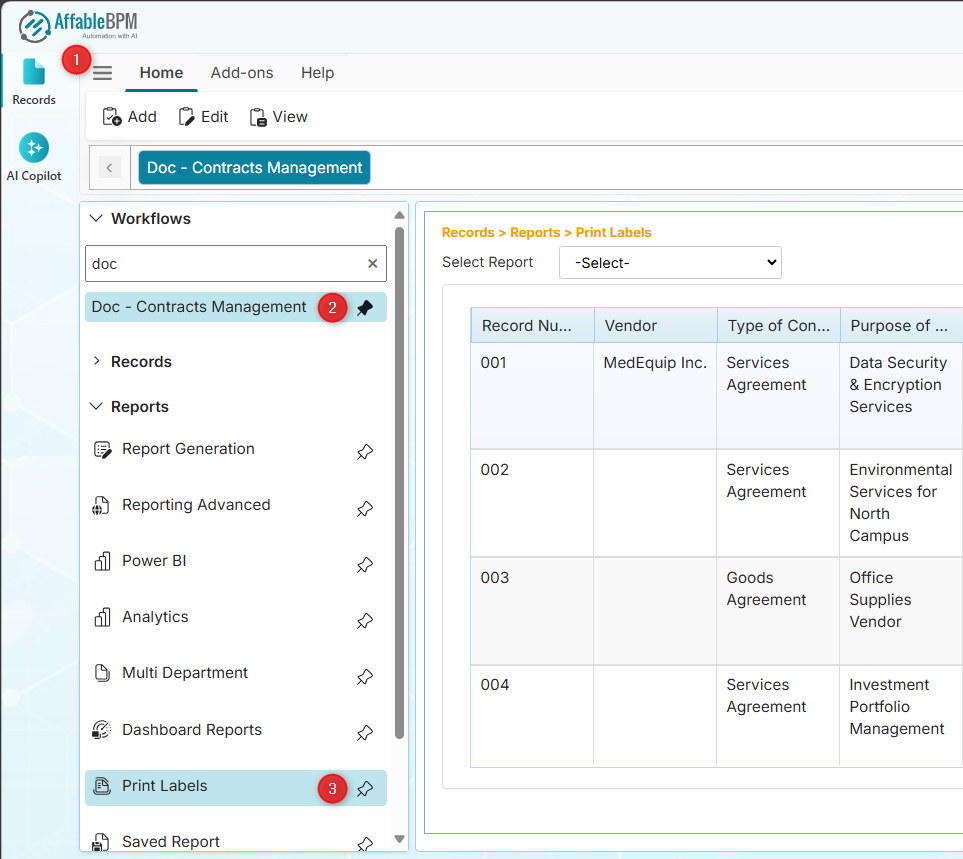
From the sidebar tab, click the Records menu.
-
Click the Workflows section.
-
Find and click your assigned workflow.
-
In the Reports section, click the Print Labels menu. The record listing will appear with the Select Report dropdown.
-
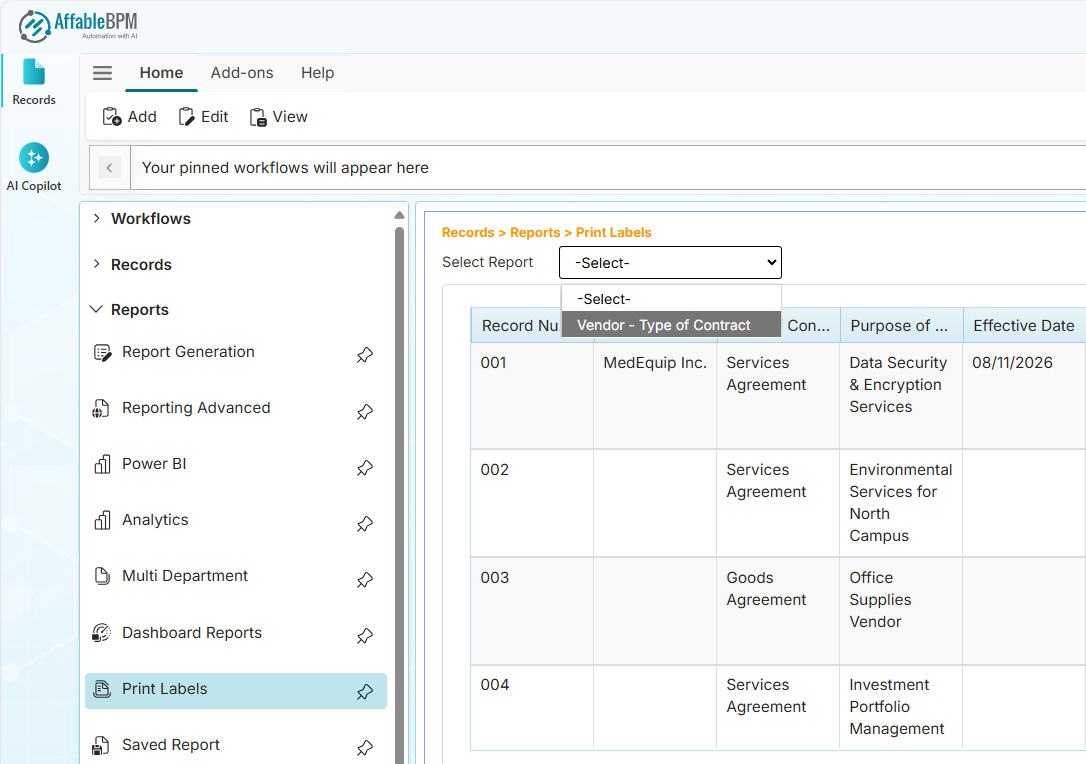
In the Select Report dropdown, select a report template.
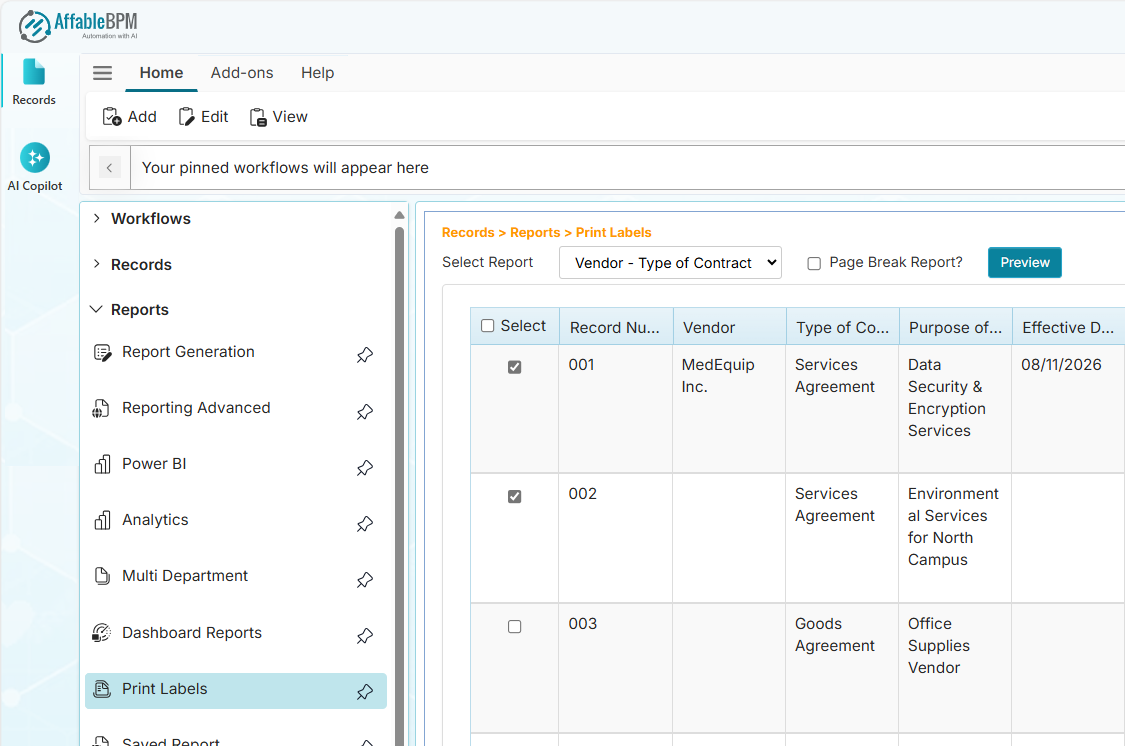
The first column of the grid will display a checkbox to select which rows to be printed.
-
Tick the checkbox or the column header checkbox to select all rows.
-
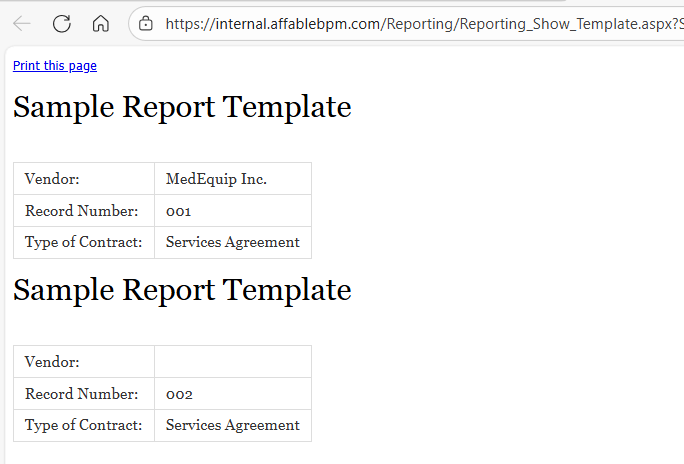
Click the Preview button to open the output.
- A record can be excluded in the Print Labels report if there is a Print Label Tracking field. This is done by setting the record's Print Label Tracking field value to Printed status.
- Users with Manager or Administrator access can configure which report template can be made available in the Print Labels report page.
- (Optional) To separately print each record, tick the Page Break Report checkbox.